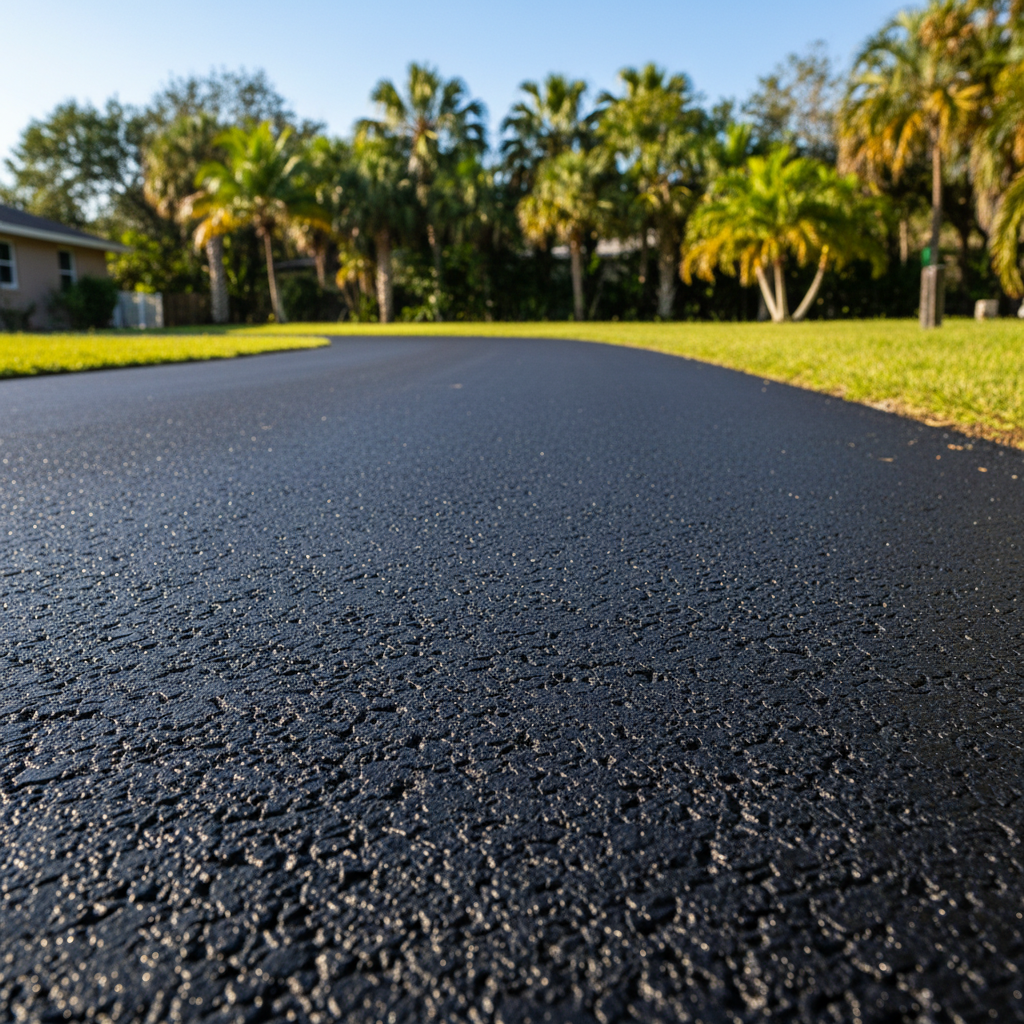
Alright, let's talk about asphalt. You might hear 'commercial asphalt' and think big parking lots or highways, but the truth is, a lot of what goes into those big jobs applies directly to your home too. Especially if you've got a long driveway, a private road, or even a large area for parking your boat or RV. I've been doing this for years here in Tampa, and I've seen it all. Here's what you really need to know.
Before the Shovels Hit the Ground: Planning Your Asphalt Project
Planning is probably the most crucial part, and it's where you can save yourself a lot of headaches and money down the line. Don't skip this step.
- Understand Your Needs: What's this asphalt going to be used for? Is it just for your car, or are you going to have heavy trucks, RVs, or even construction equipment on it? The expected load dictates the thickness of the asphalt and the base material underneath. A standard residential driveway might be fine with 2-3 inches of asphalt over a good base, but if you're parking a heavy-duty work truck, you'll need more.
- Drainage is King: This is huge, especially here in Tampa. We get those torrential summer downpours, right? If your asphalt isn't properly graded to shed water, you're going to have standing puddles, which leads to premature cracking and potholes. You absolutely need to think about where the water will go. Will it run off into your yard? Into a drain? This isn't something you want to guess at.
- Permits and Regulations: Depending on the size and scope of your project, you might need permits from Hillsborough County or the City of Tampa. Don't assume you don't. A quick call to your local planning department can save you a big fine later.
- DIY vs. Pro: Can you do some of this yourself? Maybe some of the initial clearing or minor grading if you're handy with equipment. But for the actual base prep and laying the asphalt? I'm going to be straight with you: leave it to the pros. Asphalt paving isn't like laying pavers. It requires specialized equipment, precise temperature control, and experienced crews. You're not going to rent a paver and roller from Home Depot and get a professional-grade job.
During the Project: What to Expect and How to Help
Once you've got a contractor like us at Majestic Asphalt lined up, here's what you'll see happening.
- Site Preparation: This involves clearing the area, removing old pavement if necessary, and then grading the subgrade. This is the dirt underneath everything, and it needs to be compacted properly. If the subgrade isn't stable, your asphalt won't last.
- Base Layer Installation: Next comes the base, usually crushed aggregate. This layer provides structural support and helps with drainage. It's laid down in lifts, watered, and then heavily compacted. This is another critical step where shortcuts will cost you.
- Asphalt Paving: This is the exciting part. Hot asphalt mix is delivered to the site, spread by a paving machine, and then compacted with heavy rollers. The temperature of the asphalt is crucial for proper compaction and a smooth finish. You'll see a crew working quickly and efficiently to get it laid before it cools too much.
- Your Role: Mostly, stay out of the way and let the crew work. Make sure they have access to water if they need it. If you have questions, ask the foreman. Don't try to direct the crew yourself.
After the Job is Done: Curing and Maintenance
The asphalt is down, it looks great, now what?
- Curing Time: Your new asphalt isn't ready for heavy traffic immediately. It needs time to cure and harden. This usually means staying off it for at least 24-48 hours for light vehicle traffic, and sometimes longer for heavy vehicles or if it's a particularly hot day. Your contractor will give you specific instructions. Don't ignore them. Driving on it too soon can cause ruts and damage.
- Initial Appearance: Don't be alarmed if it looks a little rough or has some roller marks right after it's laid. It'll smooth out and darken over the next few weeks as it cures and gets some sun exposure.
- Ongoing Maintenance: This is where you can do a lot to extend the life of your investment.
- Keep it Clean: Sweep off dirt, leaves, and debris regularly. Don't let oil or gas spills sit; clean them up immediately as they can degrade the asphalt.
- Sealcoating: This is like sunscreen for your driveway. Sealcoating every 2-5 years, depending on traffic and sun exposure, protects the asphalt from UV rays, water penetration, and oxidation. It's a relatively inexpensive way to significantly extend its life. You can try to DIY this with products from a big box store, but for larger areas, a professional application will give you a much more even and durable finish.
- Crack Filling: If you see small cracks appear, fill them promptly. Water is the enemy of asphalt. Once water gets into cracks, it freezes and expands (not a huge issue in Tampa, but it still gets in there and causes damage with our heat cycles), leading to bigger cracks and potholes. You can buy crack filler at hardware stores for minor cracks, but for anything significant, call a pro.
Look, a properly installed and maintained asphalt surface can last 20 years or more. It's a big investment, but it's one that adds value and functionality to your property. Just make sure you're doing it right from the start, and don't be afraid to call in the experts when you need them. That's what we're here for.